Think back to when you were in school. You probably wouldn’t be satisfied with getting a 60/100 on every single assignment. But many people are satisfied with an oral hygiene routine that does exactly that. Brushing alone only removes 60% of plaque, at best!
Flossing as part of your daily routine is absolutely essential if you want to reduce your risk of cavities and gum disease, improve your breath, and maintain a sparkly smile.
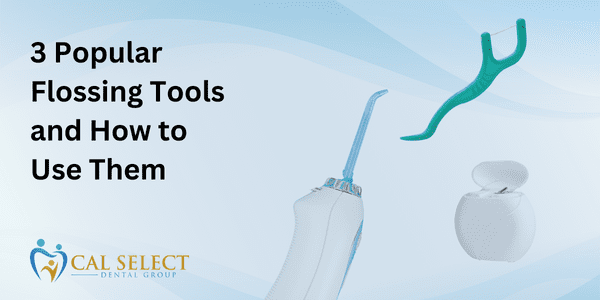
Below, we’re examining the three most popular flossing tools, and how to floss with each one.

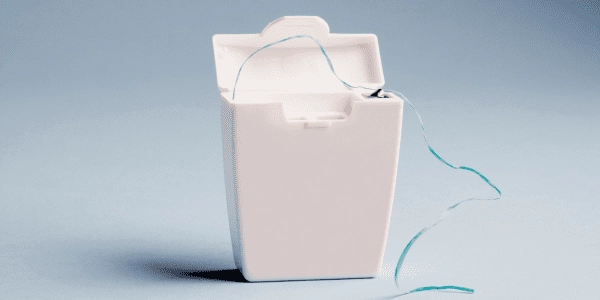
Traditional Floss
The most common way to remove excess plaque and debris from your teeth is with traditional string floss, but all of these methods have relative strengths and weaknesses.
The Proper Way to Floss with Traditional Floss
- Wrap about 18 inches of floss around your two middle fingers.
- Secure the floss between your thumbs and forefingers.
- Move floss in between the teeth using a gentle rubbing motion, curving the string around one tooth until it reaches the gumline.
- With a firm grip on the floss, gently rub up and down each side of the tooth surface.
- Repeat this process for every tooth.
- Use a fresh section of string when the floss shows signs of plaque buildup.
- After every tooth has been flossed, rinse your mouth with water to remove dislodged debris.
Benefits of Traditional Floss
Affordable: Traditional floss is the cheapest option and you can find it at nearly every convenience or grocery store, not to mention pharmacies. Many dental offices will even send you off with a package after your checkup.
Simple: No equipment to hassle with, traditional floss just requires your hands, a piece of string and some time.
Portable: Traditional floss containers come in sizes so small they sometimes fit in the key pocket of a pair of jeans. The car, a purse, a briefcase – you can take care of your teeth anywhere with traditional floss.
Effective: Since there’s no equipment to get in the way, traditional floss is best at working its way even into tightly crowded teeth. As long as you can reach your back-most teeth, traditional floss is incredibly effective at removing plaque and food debris.
Drawbacks of Traditional Floss
Challenging: Especially if you still have wisdom teeth, it might be difficult to comfortably get your fingers in position to floss every tooth. This method also requires a significant amount of hand strength. This dexterity can develop over time, but many people become too quickly discouraged and give up the practice altogether.
Time-Consuming: Developing both general flossing dexterity, as well as an effective technique for comprehensively scraping all sides of every tooth can take a long time.
Messy: With the application of pressure, comes the likelihood the floss string will break. It can become stuck between your teeth, and you then need to prepare a fresh string. Suddenly, you’re surrounded by discarded strings and broken bits that then need to be cleaned up. Some people are also averse to having contact with their saliva and the removed bits of food debris.

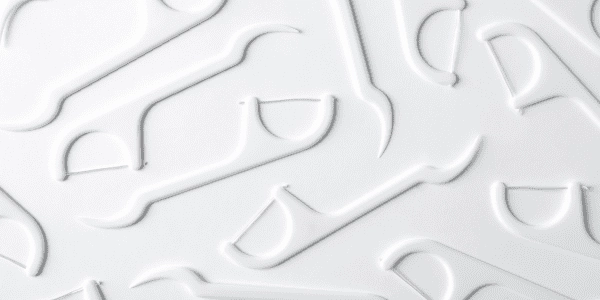
Floss Picks
These plastic grips, often shaped like a small shaving razor, hold the floss string for you. This invention has simplified the flossing process for many people.
The Proper Way to Floss with Floss Picks
- Insert a new floss pick into the handle.
- Grip the floss pick handle with your thumb and forefinger.
- Gently slide the floss between two teeth, using a sawing motion to ease through any tight spots.
- Bend the string around the tooth in a C-shape, making sure the floss curves under the gumline.
- Gently rub up and down each side of the tooth surface, scraping away plaque and debris.
- Repeat this process for every tooth.
- After every tooth has been flossed, rinse your mouth and discard the individual floss pick.
- Wash the handle.
Benefits of Floss Picks
Inviting: Pick flossers have fewer steps and a little more distance from what some people consider a dirty task. There’s no measuring and adjustment of thread. Even a first-time flosser can grab a pick and get to work.
Easy: The handle is easy to maneuver and takes less grip strength and dexterity to operate.
Portable: While slightly larger than a pack of traditional floss, packages of floss picks are still portable enough to keep in your desk at work, or to pack in a travel bag.
Drawbacks of Floss Picks
Cost: Floss picks are disposable, and you have to use a new one for every flossing session. The additional equipment has an additional cost, when compared to the traditional method.
Effectiveness: While the pick is easier to grip, and can even extend someone’s reach into the back of the mouth, the string itself can be more difficult to slide between tight teeth.
Environmental Impact: Floss picks require more individual packaging and the tools themselves are made of disposable plastic, all of which can have a negative environmental impact. As an alternative, flossers can adopt a hybrid method that combines the function of a floss pick with less waste – reusable floss holders allow the user to wrap their own floss into a washable handheld tool.
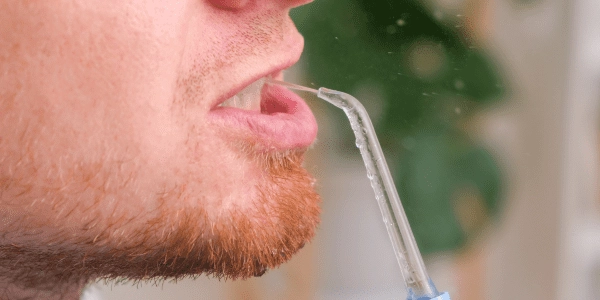
Water Floss

Just add water! This electronic option is more expensive but can give you a just-left-the-dentist fresh feeling.
The Proper Way to Floss with Water Floss
- Fill the flosser’s reservoir with warm water – hot water can injure you and the device.
- Choose the appropriate cleaning tip.
- Adjust the water pressure – beginners will need to gradually ramp up the intensity.
- Angle the tip into your mouth with your lips closed.
- Turn the device on and aim the water stream at your gumline.
- Spray each tooth, starting from back to front, paying special attention to the areas between teeth.
- Pause when moving from one tooth to the next, allowing debris to be flushed away.
- Turn off the device.
- Rinse your mouth with water.
- Clean the tip, reservoir and device according to the manufacturer’s instructions.
Benefits of Water Floss
Gentle: Water floss is gentler and can avoid gum irritation that sometimes results from manual methods. In fact, the water can actually massage your gums and improve circulation.
Coverage: Even more so than a floss pick, water floss can help people with limited dexterity or hand strength reach the most difficult locations. If you have a bridge, braces, crowns, or implants, a water floss device is well equipped to remove plaque and debris from all the nooks and crannies you may not be able to get to with traditional string of floss.
Refreshing: The steady jet of warm water can result in a satisfying and fresh-feeling tingle on your teeth and gums.
Drawbacks of Water Floss
Expensive: The initial purchase price of a water flosser is far more expensive than the other methods, and like most electronic devices, will likely need replacing at some point.
Bulky: This certainly won’t fit in your pocket. Travelling? In order to maintain your flossing routine, not only do you have to pack a device, but also a charger.
Messy: There’s a learning curve to controlling a pressurized spray of water, and even an expert might end up leaving their clothes, sink, and mirror in a bit of a mess after a flossing session.
